1) Unzip ords-19.1.zip file in a folder “ords”. i.e E:\ords
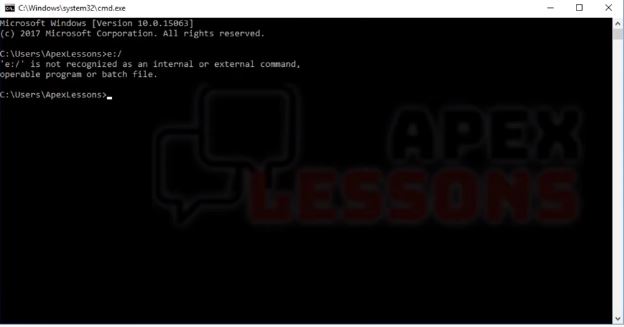
2) Press Window+R to open run window.
3) Type cmd and press enter.
4) Go to ords directory. i.e “cd e:\ords”
5) Type java -jar ords.war
Enter the location to store configuration data: e:\ords
Enter the name of the database server [localhost]: localhost
Enter the database listen port [1521]: 1521
Enter 1 to specify the database service name, or 2 to specify the database SID [1]: 1
Enter the database service name: apexlessons <check your tnsnames.ora file for service name or SID>
Enter the database password for ORDS_PUBLIC_USER: <password>
Confirm password: <password>
Requires to login with administrator privileges to verify Oracle REST Data Services schema.
Enter the administrator username: sys
Enter the database password for SYS AS SYSDBA: <password>
Confirm password: <password>
Enter 1 if you want to use PL/SQL Gateway or 2 to skip this step.
If using Oracle Application Express or migrating from mod_plsql then you must enter 1 [1]: 1
Enter the database password for APEX_PUBLIC_USER: <password>
Confirm password: <password>
Enter 1 to specify passwords for Application Express RESTful Services database users (APEX_LISTENER, APEX_REST_PUBLIC_USER) or 2 to skip this step [1]: 1
Enter the database password for APEX_LISTENER: <password>
Confirm password: <password>
Enter the database password for APEX_REST_PUBLIC_USER: <password>
Confirm password: <password>
Enter 1 if you wish to start in standalone mode or 2 to exit [1]: 1
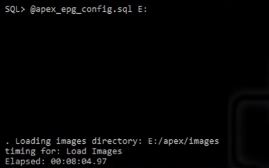
Enter the APEX static resources location: e:\apex\images
Enter 1 if using HTTP or 2 if using HTTPS [1]: 1
Enter the HTTP port [8080]: 8080
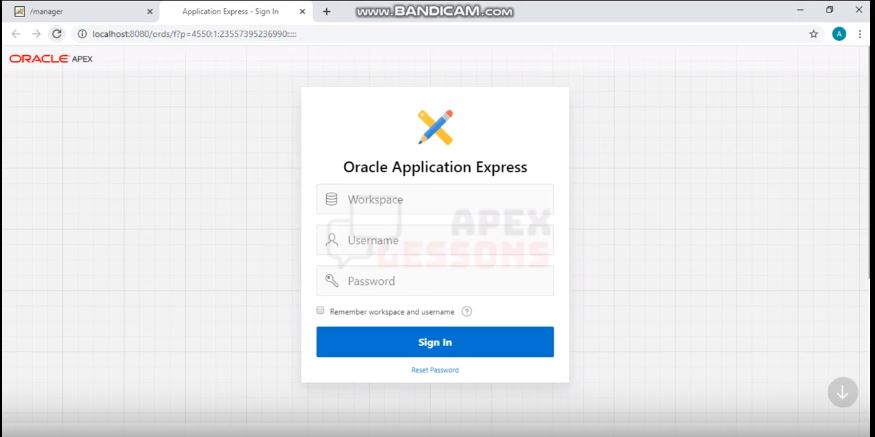
ORDS has been started on port 8080, but wait we are going to deploy this configured ORDS on Apache Tomcat.
Exit the window here ……..

Really helpfull. Thanks apex lessons
what is the java version which i should install for ords configration on db 11g r2 .
Hi, I am very thankful to you for this detailed and useful information. Can you please brief in such way on installing apex latest version 19.2 or upper version with the latest database 19c or upper version? It will be really helpful for a lot of people. Also please let me know if you can personally help me about this.
thank you great tutorial
Thank you bro
Best tutorial, it helped me to configure ORDS with a better understanding. Thank you.
Thanks for you kind words
Thank you it working